On cold days like these, I crave something warm to eat. Mushroom Risotto fits the bill. Risotto takes a while to make, but it's a labor of love. Once you take your first bite, you'll realize it's worth all the time you stood at the stove, stirring...and stirring...and stirring.

Mushroom Risotto
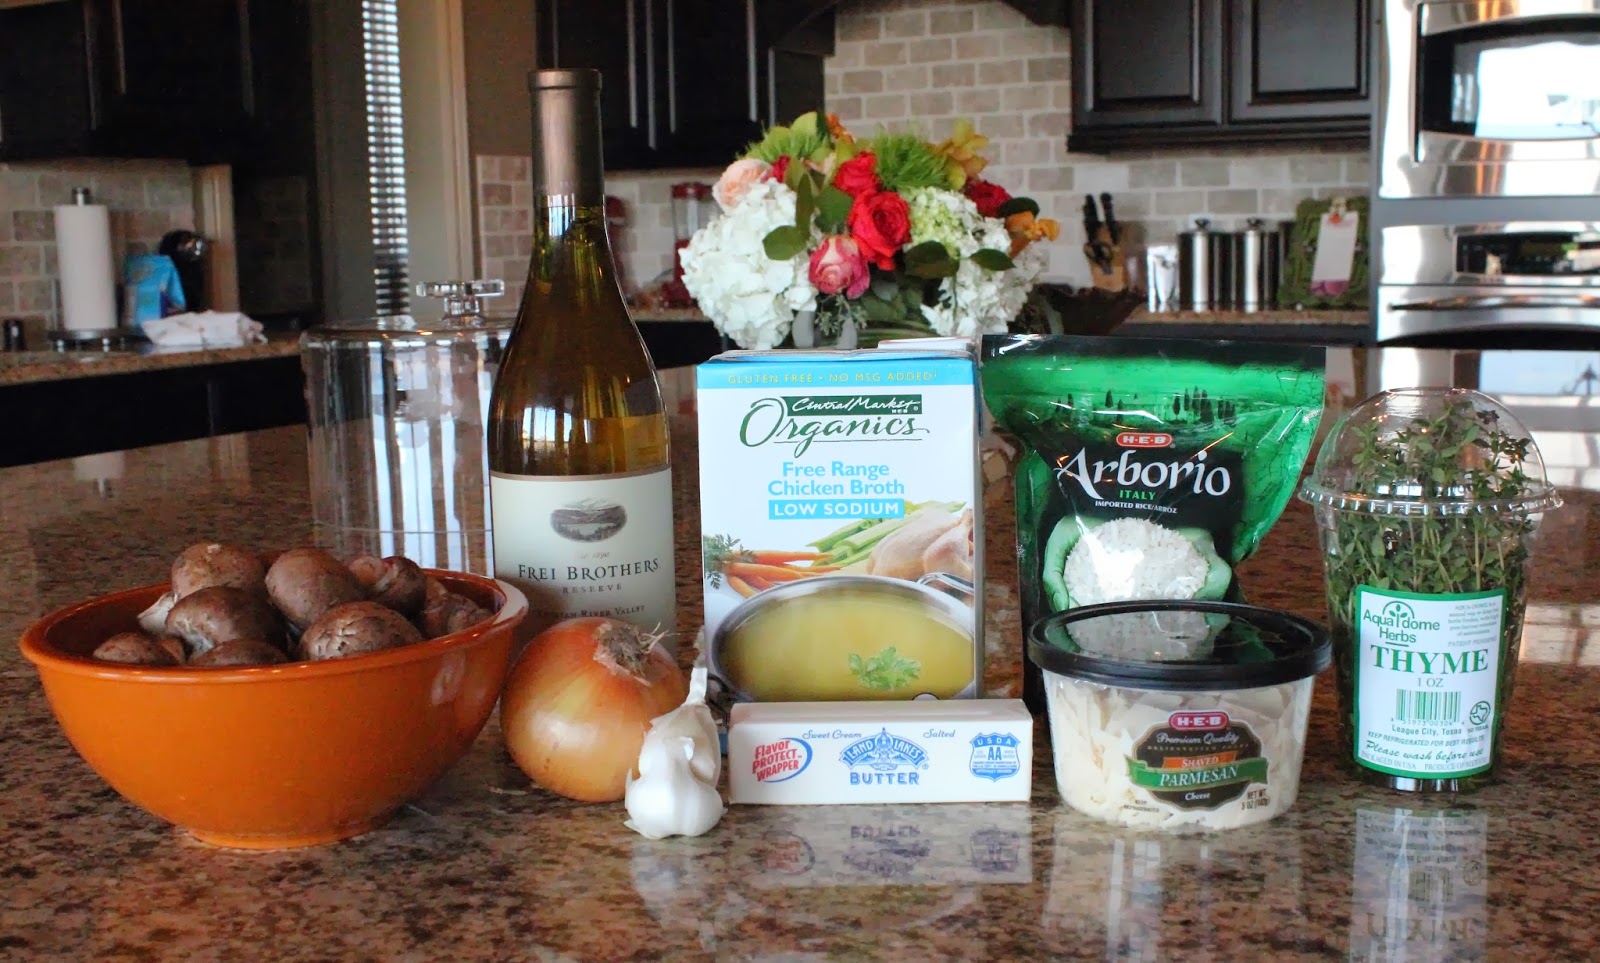
Ingredients:
- 3 Tbsp. butter, divided
- 1 Tbsp. olive oil
- 1 lb. mushrooms, sliced
- 1 medium onion, chopped
- 2 cloves garlic, finely chopped
- 1 1/2 cups Arborio rice
- 1/2 cup white wine
- 5-6 cups chicken stock
- 2 sprigs fresh thyme, leaves removed from stem & chopped
- 1/2 cup parmesan cheese, shaved or shredded
- kosher salt & pepper
Directions:
1. Pour chicken stock into a 2 qt. saucepan and warm over low heat. (Don't boil it, just keep it warm).
2. In a large, heavy pot, heat 2 Tbsp. butter over medium heat. Add mushrooms and saute until tender, about 5 minutes. Transfer to a bowl and set aside.
3. Add 1 Tbsp. butter & 1 Tbsp. olive oil the the pot. Saute onion & garlic for 3-4 minutes. Stir in the rice and cook for 2-3 minutes.
4. Pour in white wine and bring to a simmer, stirring constantly.
5. Once the wine has been completely absorbed, add 1/2 cup of chicken stock. Simmer, while stirring, until the liquid has been mostly absorbed. Repeat with remaining chicken stock, adding 1/2 cup at a time, letting each addition absorb before you add the next 1/2 cup. Stir frequently. Depending on your rice, you'll use 5-6 cups of chicken stock. When you're getting close to the end of your chicken stock, taste the rice for doneness. It should be creamy & soft, but not mushy.
6. When you add the last 1/2 cup of stock, stir in the mushrooms, thyme & parmesan cheese.
7. Season with salt & pepper. (You'll want to taste it again at this point. If you use reduced sodium chicken stock, you'll probably need to add a generous amount of salt. Start with 1/2 tsp. and go from there).
8. To serve, top with additional parmesan cheese.
My Tid-Bits:
* You can use whatever type of mushrooms you'd like. I would normally use an assortment of wild mushrooms, but the wild mushrooms at my grocery store looked sad. I went with baby bellas instead.
* Step 5 will take a good 25-30 minutes. Be patient and enjoy a glass of wine while you stir.
* I served this risotto with grilled steaks & roasted green beans.


.JPG)


